Wooden Tag Tutorial


Have you seen these wooden tags? They seem to be all the rage in the wooden sign making groups. They really can be great additions to your Christmas decor. They look great hanging from a wreath or just hanging from your door. But I'm sure we can find other ways to use them. What about decorating your mailbox with them? What about smaller ones and using them as gift tags for family gifts. How cute would these be for newlyweds with something like Just Married or their name ex: The Huggins's. The ideas are just endless.

I made these tags out of some left over wood pallet scraps. And while I was fishing around for those scraps, I came across some cedar boards from a left over home improvement project...so we just had to cut those as well. I wanted to see how different materials would turn out. I have to say...I liked them all.


So here's how I made them....
Supplies:
Wood - Assorted Pallet Wood Repurposed / Cedar Boards
Sandpaper
Waverly Chalk Paints
Gloves
Cloth
Foam brush
Make-up Sponges
Oracal Oramask
Metal Washers
Glue
Jute Rope/Twine
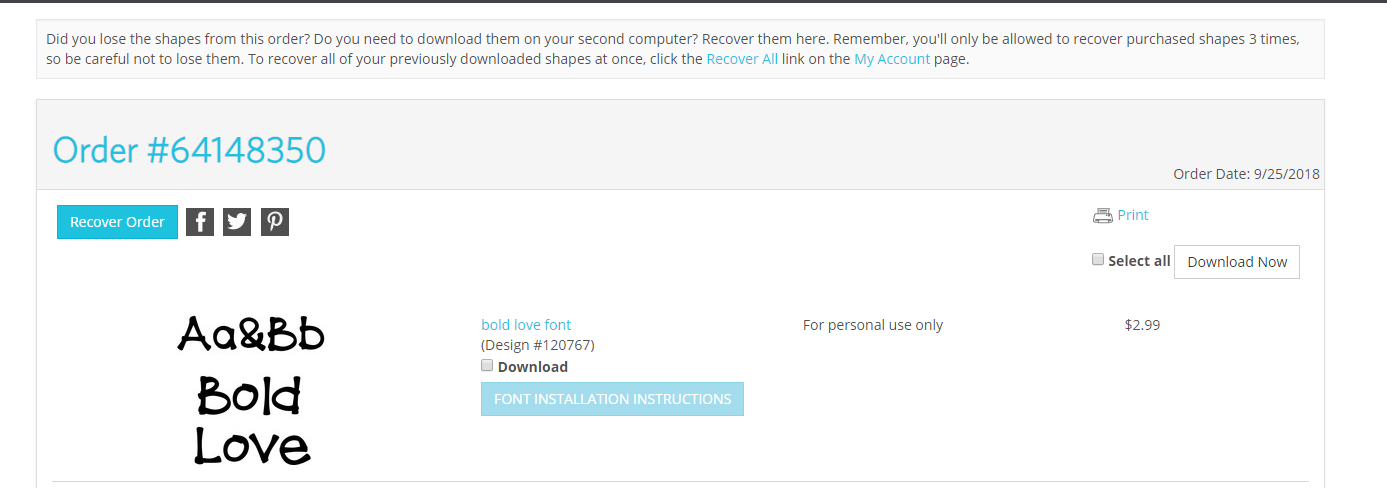
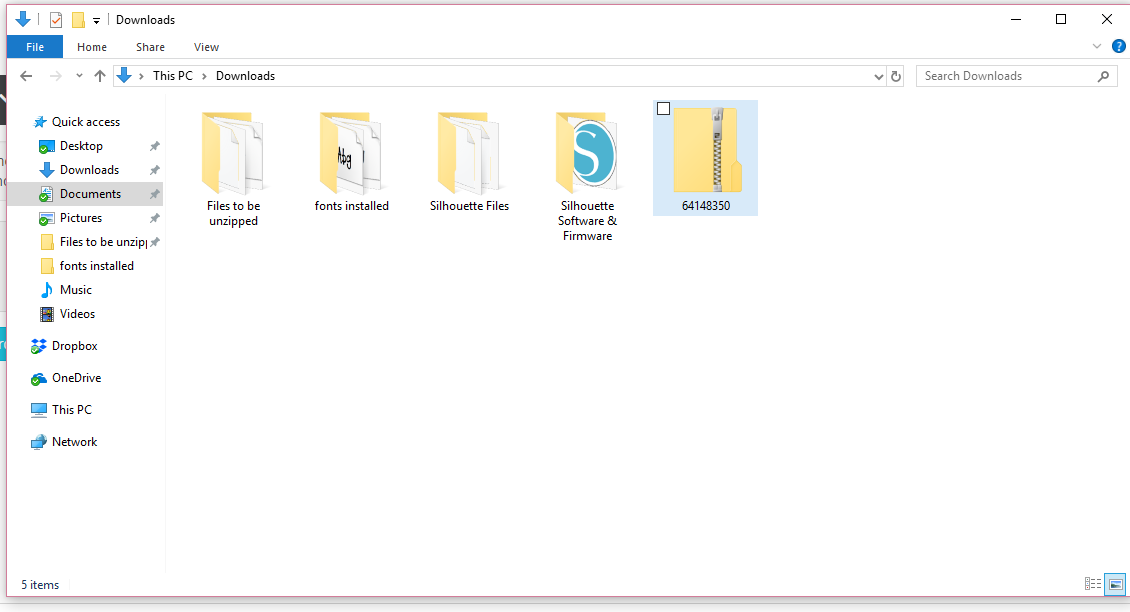
Silhouette / Silhouette Studio Software / Cut file / Supplies

  1. Cut, drill and sand your wood - I used approximately an 8 inch length - but you can make them any size you like. Next you cut the edges of one side at an angle. See pictures. Make sure you sand with the grain of the wood - wipe away dust with cloth. Using the drill bit pictured, drill out just enough to have your washer fit flush with the wood. 
  2. Paint your wood your base coat color with the foam brush - you just want good coverage but not too thick - you can always go back and paint a second coat
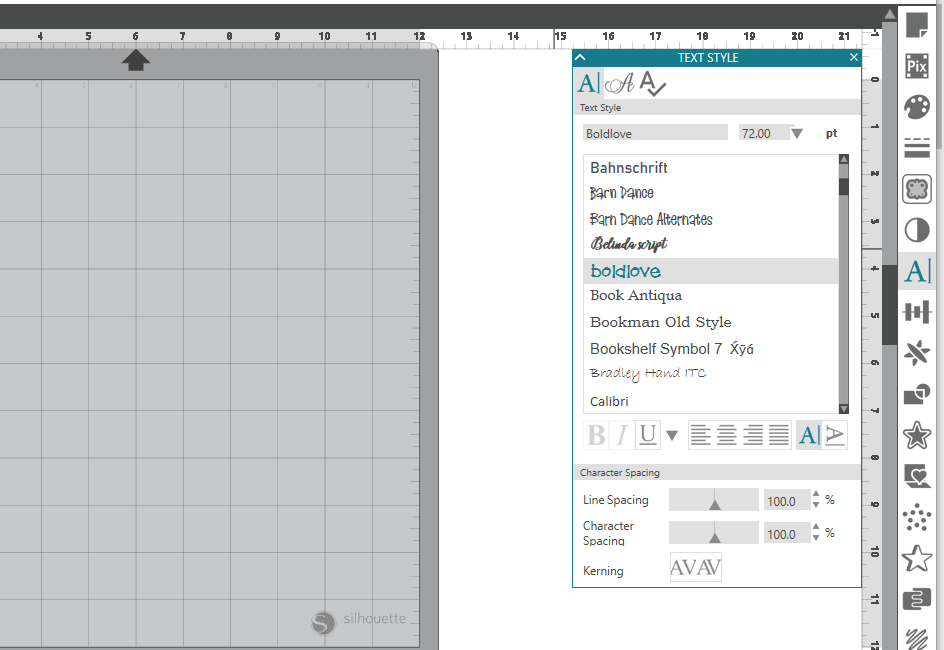
  3. While wood is drying - cut your design with your Silhouette making sure to size it to your board size proportionately. 
  4. Weed your design stencils - remember when weeding for a stencil you want to get rid of what you would normally keep
  5. Apply transfer tape to your first stencil and make sure to squeegee it well
  6. If your painted wood is dry to the touch, lightly sand, just to make it smooth
  7. Wipe away dust with cloth
  8. Apply your stencil. Squeegee it well. Remove transfer tape, leaving behind your stencil. 
  9. Using the cream chalk paint and one of the make-up sponges, dab it into the paint - tap off some of the paint in a tray or paper plate - you want your sponge to be almost dry. You don’t want too much paint or you will have bleeding - you can always add more paint - 
  10. Tap your paint onto you stencil - you can make it as dark as you like - make sure to tap lightly in an up and down motion. Add more paint as needed - once you’ve got the coverage the way you want it, let sit for just a few minutes and then remove the stencil carefully while it is still slightly wet. Make sure to remove your stencil with the grain of the wood. Removing the vinyl against the grain of the wood can cause splintering of your boards and/or the base coat paint lifting and being removed in places.  
  11. Once your sign has been painted - allow your sign to dry completely
  12. Glue washers into holes. 
  13. Add rope for hanging & Enjoy


Upcoming Holiday Silhouette Workshop

Hi! Just wanted to share an upcoming Holiday Silhouette Workshop. It is taking place in Richmond Hill, Georgia (13 miles from Savannah) If you are interested in attending, it's not too late. We still have  few spaces available.

Just wanted to shout out a big thank you to all of our sponsors.  Silhouette America - Sparkleberry Ink - Siser NA - HeatPressNation - Milissa Martini Designs - Pro World Inc - etchall Etching Products - H&H Sign - Orafol - Specialty Materials - Happy Crafters  Without your generosity this event would not be the same. We've been very lucky to receive door prizes, goody bag items, samples and supplies for projects.


Come and join us for crafting fellow, learning and fun! To register or get more information, email us at juliehcrafting@gmail.com or find us on FB https://www.facebook.com/sewcraftnspired/


Until next time...Happy Crafting!
 ❤️ Julie


**Some of the links listed are affiliate links. If you click on a link, I may receive some small compensation from your purchase. Using these links does not cost you anything additional nor are the costs higher, however, the compensations earned does help to offset costs associated with my blog. Thank you for your continued support.**

Installing Fonts for use in the Silhouette Studio Software

It seems we all love collecting (hoarding) all the fonts we can for crafting and creating with our Silhouette. As easy as it is to find fonts, we often times run into problems after downloading them. We may have difficulty locating where they have downloaded or trying to install them for use within the software. Recently I helped navigate someone through this process, and realized there may be others who need similar guidance. So here's a little tutorial to hopefully make these tasks a little easier.

Here's my disclaimer... for the record, I'm a PC girl. So the detailed instructions and screen shots are for PC users. However at the bottom of the post I have listed out the instructions for Mac Users as outlined by ** Silhouette America's website for font installation.

This is the same process for installing fonts that you get from other sources such as ** The Hungry JPeg, Craft Chameleon, and Font Bundles; not just the Silhouette Design Store.

I've ordered this font from the Silhouette Design Store. (Okay...who am I kidding, when I did this I ordered several..."YOU" know you can never have too many fonts...just sayin'...😂) .

When the order is completed in the Design Store, it gives the option to view/download the order.

Next you have to download it to your computer, not to the Silhouette Studio software.

The download will go to the place that you have set as your default location for downloads. Mine goes to the downloads folder. Some may have it set up to go to documents, some to desktop. It's all by preference. (Make sure your Silhouette Studio Software is closed, not just minimized on your computer - this is true when installing any fonts or they will not show up in your Font Style Panel until your software is closed and opened up again.)

Once downloaded, you will have a zipped file. You double- click on the zipped file and each font is listed separately. (If you bought the font separately, each font will be in its own zipped folder).

You click on the font and a box will open up with a button that says install. You click on the install button and it will install the font to your computer.

Once the button is grayed out, the font is installed.

Once the font has been installed, you will now open your Silhouette Studio Software. The font will show up in your library as well as in your Font Type Panel.


Not all fonts from Silhouette Design Store install this way. Some come in through your Silhouette Cloud already installed. If you've purchased a font and it does not show up in your Silhouette Studio Software Font Type Panel but does show in your library, then you must go to the Silhouette Design Store and download it to your computer and follow the instructions as listed above.

Once you've done the font installing process a few times, you'll be a FIP - font installing pro. 😊

Now here are the promised instructions for Mac Users:
Installing Fonts on a Mac:
1. Depending on your download preferences, the download my show up in your downloads area or in the default location. Every user has their preferences set differently.
2. Open the downloaded folder.
3. Double-click on the font to install.
4. A font management window will open.
5. Select the Install option in the lower-right of the window.
6. Once installed, the font management window will close, indicating that the font has been installed. 

Hope you've found this tutorial to be helpful and easy to follow. We'd love to hear from you, so leave us a comment below.

 Until next time...Happy Crafting!
 ❤️ Julie


**Some of the links listed are affiliate links. If you click on a link, I may receive some small compensation from your purchase. Using these links does not cost you anything additional nor are the costs higher, however, the compensations earned does help to offset costs associated with my blog. Thank you for your continued support.**


Silhouette Mystery Box

Happy Saturday! Hope everyone is having a great start to the holiday weekend! What do you have planned? Well if you’re like me, you probably have a few projects on your agenda.

Anyone who knows me, isn’t surprised when I say how much I ❤️❤️❤️ my Cameo and all of the great products Silhouette has to offer. So it was a very special treat for me to be able to do an unboxing of one of the Elite Silhouette “Mystery Boxes” that is available for limited time this month and only by using a special link and my special code. YES, you heard me....limited time and only with a special link and my special code. It's only available from September 1st through the 15th.

First, let me give you the scoop! You have a choice between a $49.99 box (retail value $100) and a $99.99 box (retail value $200). Second, the box contents are a complete surprise. That’s the FUN part. It’s like getting a very special present just for you. Who doesn’t enjoy getting presents? And the best part is...it’s not even MY birthday!

In your box, you may get products you’ve used before. Or maybe you’ll be getting products you’ve thought about trying but talked yourself out of. Or maybe like me, you’ll even get those products you’ve never even thought of trying because it’s not products you normally would necessarily use. This gives you a great opportunity to work outside your comfort zone & create with something new.

I was so excited to unbox that I have to admit...I did sneak a teeny, tiny peek before writing this post. I couldn’t help it. And Wow! Super surprised at all of the products in my box.


This box is the $49.99 box. Mystery Box My “Mystery Box” contents includes a HTV starter kit, a Chalkboard starter kit, a package of white printable Tattoo paper, a package of printable adhesive Kraft paper, a Sticker sampler pack, a pack of Leatherette sheets and a 4 pack of neon Sketch Pens. That’s a lot of products for the price. Retail value of the contents is over $115, which is awesome. Score!!!


And let me tell you what's even cooler. The starter kits not only include the different medias to use but they also include Silhouette tools and download cards for exclusive designs. What an added bonus!

If you want to give a great gift to yourself or need that perfect gift for that special crafty someone (or maybe both!), then click my affiliate link Mystery Box  & make sure to use the special code BIRTHDAY at checkout. It’s that easy. But remember you have to do both in order to get this great deal!

Check back in a spell to see what fun projects will be created with the products featured. I can't wait to get started!!!

Until then...Happy Crafting!
 ❤️ Julie


***My opinions given are my own and I was not monetarily compensated for this post. However I was gifted the products featured.***
Upcoming Workshop In Kennesaw, Georgia If you are in the area, we would love to have you join us!

Upcoming Software Overview & Silhouette Crafting Workshop

Hi. Just wanted to share our upcoming Silhouette crafting workshop. You've been asking, so we're getting the projects finalized and we're ready to craft. We'd love to have you attend. Feel free to contact us if you'd like more information or wish to join in for all the fun, crafting and laughter you can handle! Spaces are limited, so don't delay.

Upcoming Retreat

Hi. Just wanted to share our upcoming Silhouette crafting retreat, just in time for Mother's Day and Graduation gift giving. You've been asking, so we're making it happen. We'd love to have you attend. Feel free to contact us if you'd like more information or wish to join in for all the fun, crafting and laughter you can handle! Spaces are limited, so don't delay.


                                                       And as always - Happy Crafting!
                                                                             Julie