Newly Released Artesprix Acrylic Sublimation Paints
From This.......... To This!
So I when I received these new Artesprix Acrylic Sublimation Paints, I'll be honest to say that I was a little skeptical. I honestly didn't really know what to expect. Man am I amazed! This project was just a little simple try out, so I did nothing elaborate with the product. But this one simple project turned out so cool, that now my mind is reeling with ideas for some new projects! Dislaimer ** You do not need a
Glowforge or any laser machine to get similar results - just use premade sublimation blanks!**
Let's get started on this easy but stunning project!
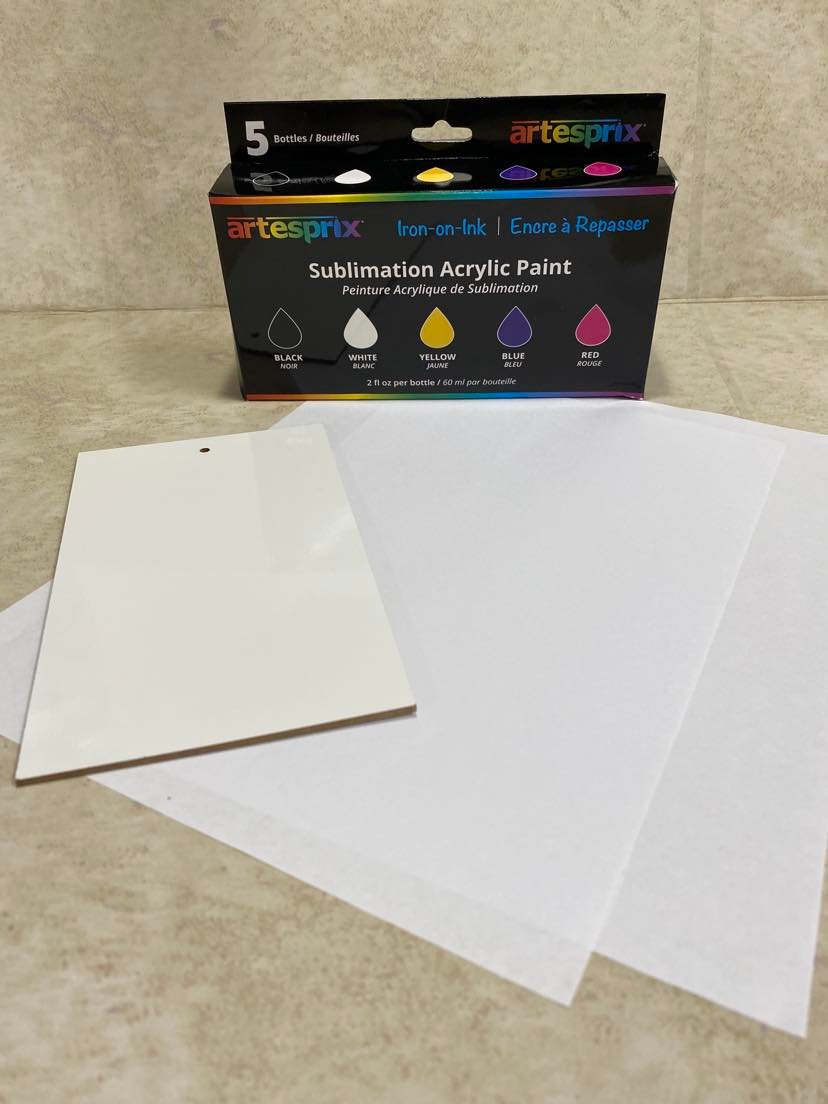
Supply List
First don't be like me (although it worked out to my favor) - go ahead and preheat your heatpress or iron to the temperature designed for your sublimation substrate. In my case I'm using a dry erase sign from DollarTree. I found it in the crafting section. I set my
heatpress to 400 degrees and my timer to 60 seconds.
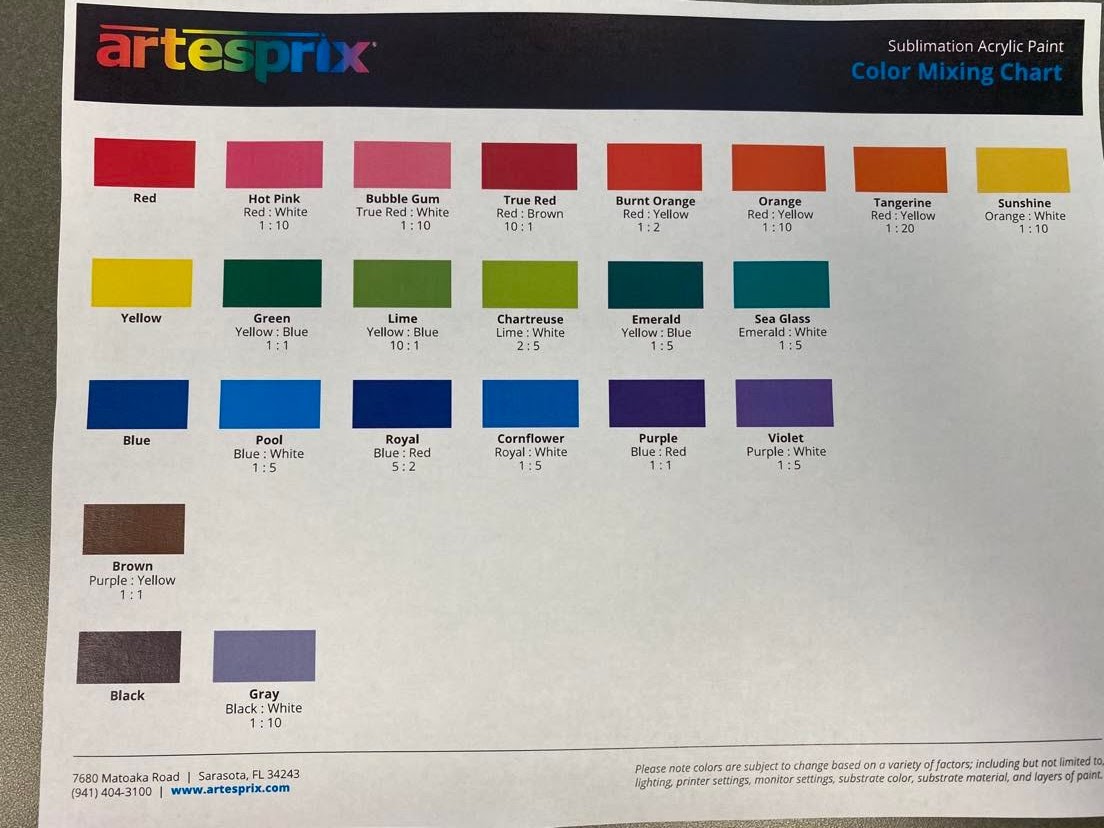
Next I wanted to change the colors a little.
Artesprix Acrylic Sublimation Paints come in 5 primary colors. Black, White, Yellow, Blue and Red. They offer a color chart for mixing your own color combinations.
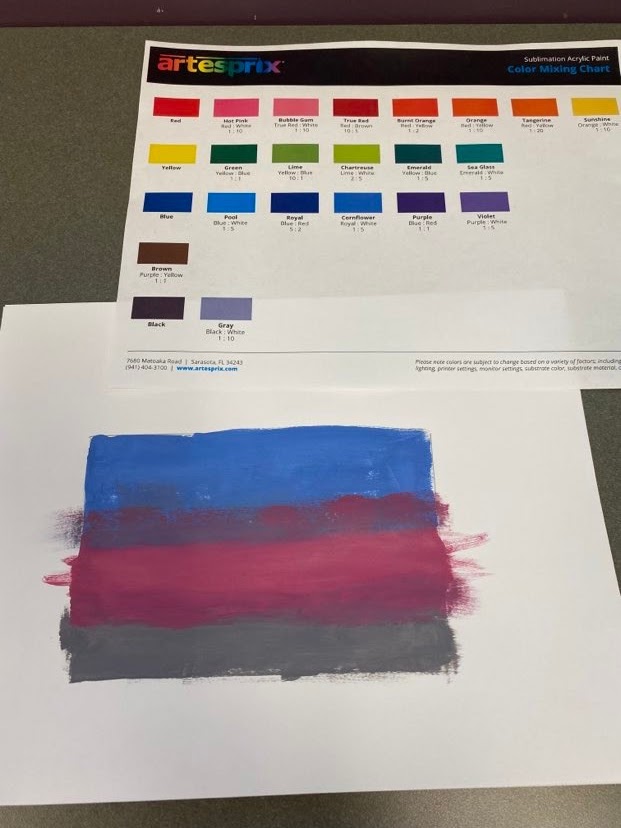
Using a pencil and white copy paper, I measure out a rectangle. I didn't do anything special. I just wanted to have a box similar to the size of my dry erase board. I then used my paintbrushes and painted the area in three random stripes. As you can see there was nothing special to my technique and I even had colors overlapping. That's the beauty of the finished product. You don't have to be an artist to get amazing results. It dried rather quickly. Within about 10 minutes it was dry to the touch. I did let it sit about 30 minutes total. Not on purpose but because I had forgotten to turn my heatpress on. 🙈


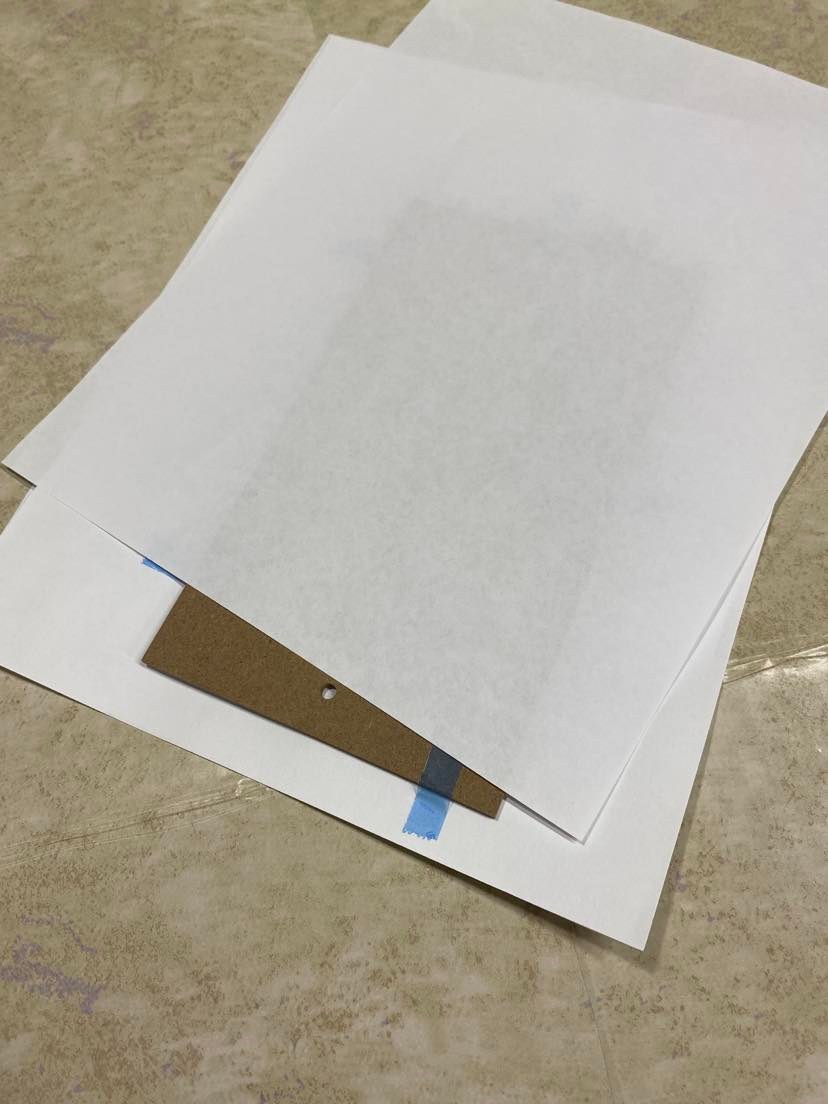
My next step was to place my painted sublimation design face down on my substrate. Then I taped them together face to face with
heat resistent tape.
Next I sandwiched my design and substrate between 2 sheets of copy paper and sandwiched those between two sheets of parchement paper and placed them in my
heatpress and pressed this project at 400 degrees for 60 seconds. Pictures show that process and then why you need to sandwich between the copypaper. It keeps the sublimation gases from getting into your bottom foam platen and top platen of your heatpress and transferring onto other projects.
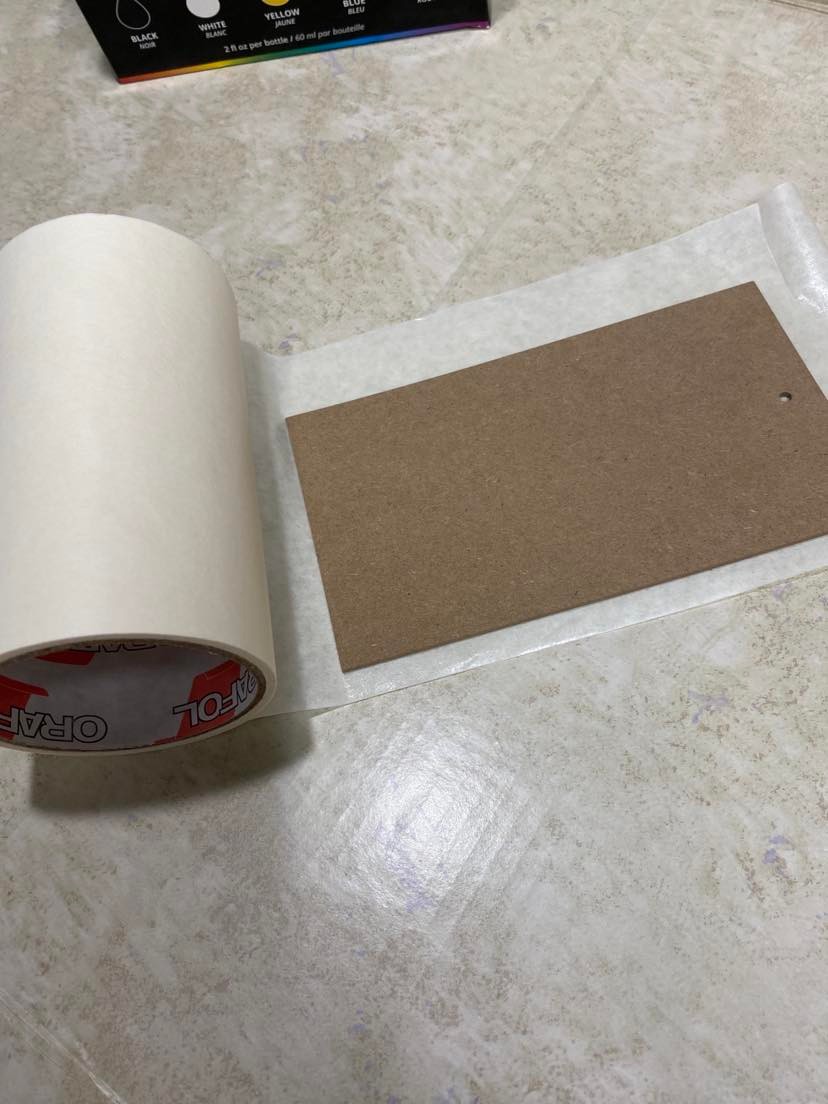
Once my project cooled I masked it with paper transfer tape and got it ready for my laser. I brought my design into my
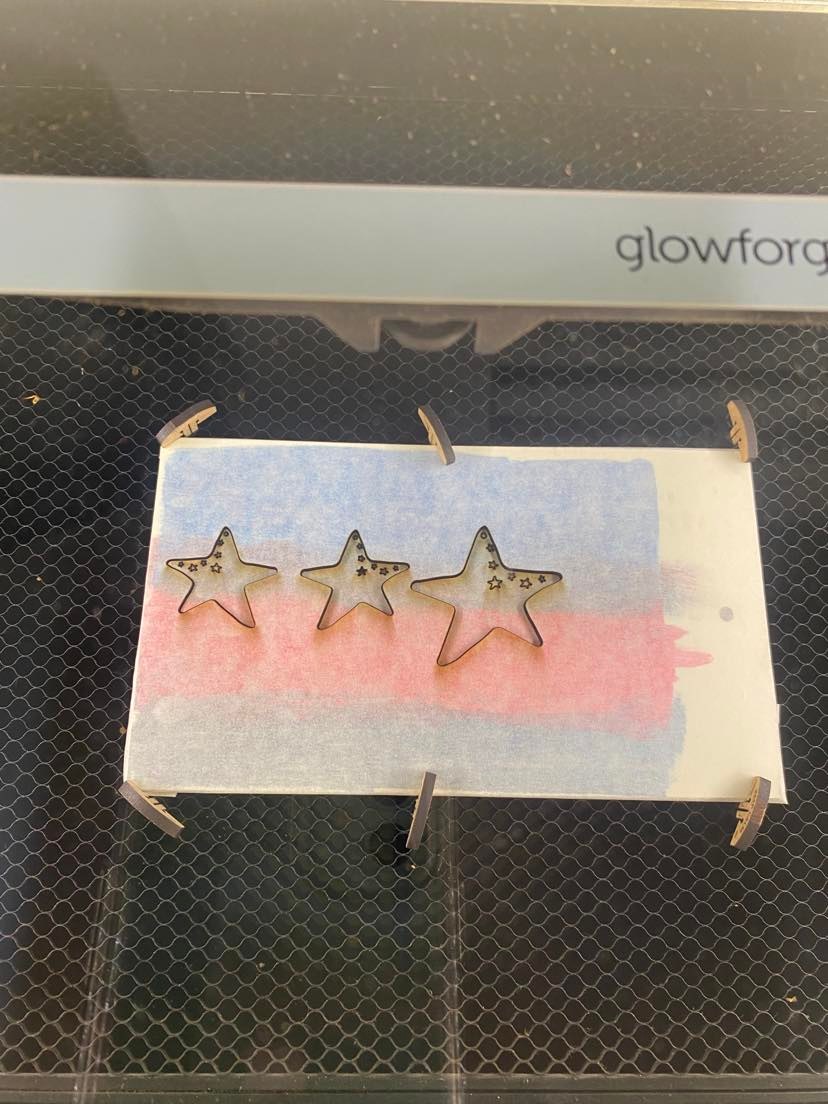
Glowforge laser software and cut out the design.
I removed the masking from my pieces and here's how they turned out! 💓

I added jewelry fixings and magically my pieces turned into this amazing patriotic set! Can you see why I'm so dazzled by
Artesprix Acrylic Sublimation Paints?

Thanks for stopping by. I hope you found this tutorial helpful. Please feel free to contact me if you have any questions or need additional information.
If you like this post, please share it with a crafty friend and please share it on Pinterest, so others can find it. If you are on Facebook, I would love for you to check out my page and join my crafting facebook group! In the FB group I like to share freebies, tutorials, and help with troubleshooting, etc. The group's members are super nice and like minded. We all really enjoy fellowing and crafting fun. Hope to see you there!
Until the next time we meet. Happy Crafting!
Julie 💕
This post may contain affiliate advertising. What this means to you, is that if you visit a site, by clicking on a link in the post, we may make a commission based on your purchase. The price you pay for the product or service is not higher, and the commissions we earn help keep this blog, its tutorials and hosted Silhouette crafting events possible. Thank you for supporting our efforts!


No comments:
Post a Comment
Thanks for stopping by. I would love to hear from you. Also, please feel free to suggest anycrafting projects or tutorials you would like to see in upcoming blogs.